
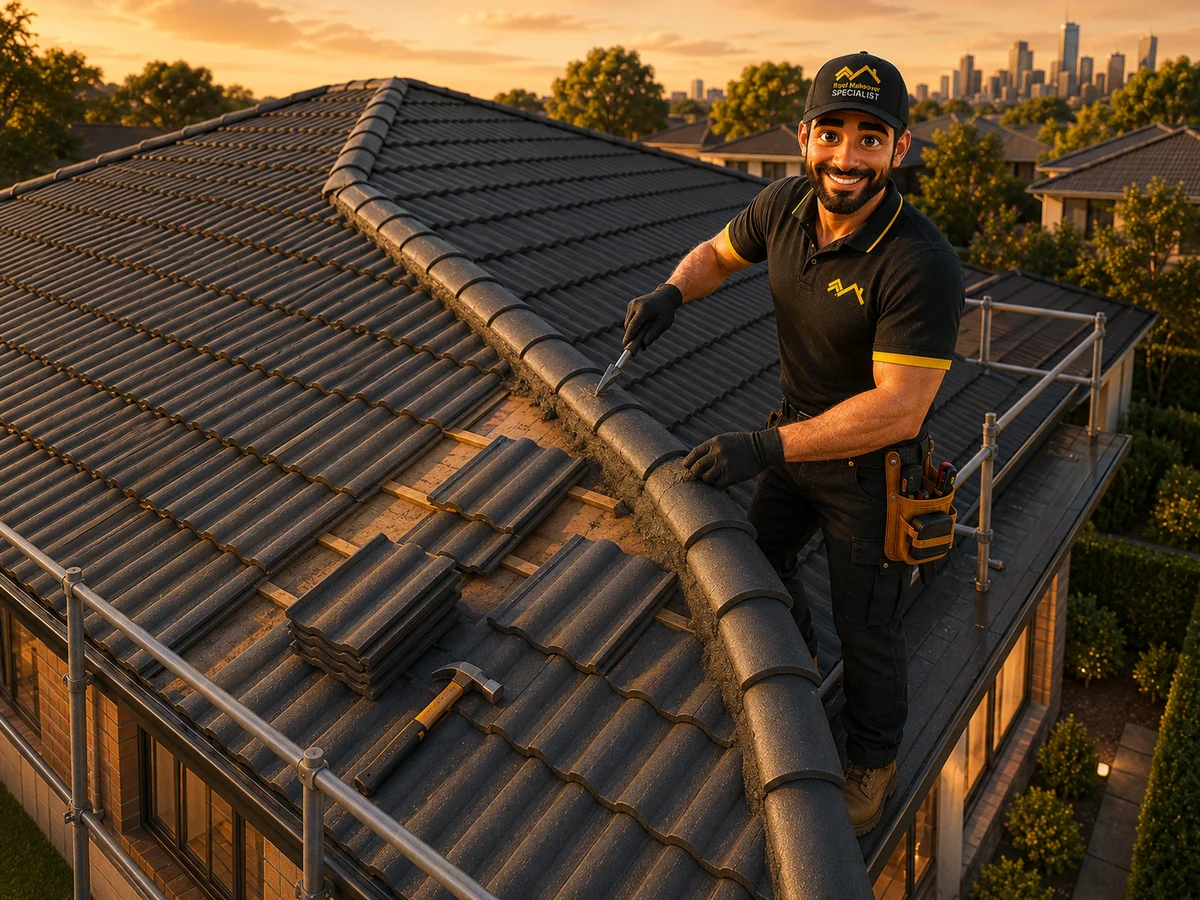
A professional roof restoration is a sequence of inspections, repairs, preparation and finishing—not simply a quick pressure clean followed by roof paint. Understanding that sequence helps Melbourne homeowners compare quotations, recognise shortcuts and know what should happen at each stage. This guide explains the complete process from the first roof assessment to the final quality check, including the points where the scope may need to change because of roof condition or weather.
The roof restoration process at a glance
A well-planned roof restoration in Melbourne begins with the condition of the existing roof. The contractor first needs to determine whether the roofing material and underlying system remain suitable for restoration. Only then should the repair, cleaning, preparation and coating stages be confirmed.
The exact order can vary slightly according to roof type, access, product requirements and weather, but the essential principle does not change: defects and surface preparation come before the final colour. Coating an unsuitable or poorly prepared surface may improve its appearance temporarily without delivering the result the homeowner expected.
A written quote should connect each stage to your roof rather than describe a generic package. The following sequence gives you a practical framework for understanding what a thorough residential roof restoration can involve.
- ✓Initial roof inspection and suitability assessment
- ✓Written scope, product system and exclusions
- ✓Site preparation, access and property protection
- ✓Pressure cleaning and removal of loose material
- ✓Tile, ridge, valley and flashing repairs where required
- ✓Drying, reinspection and surface preparation
- ✓Compatible primer or sealer where specified
- ✓Professional roof coating application
- ✓Final quality inspection, clean-up and handover
Stage 1: Inspect the roof and confirm restoration is suitable
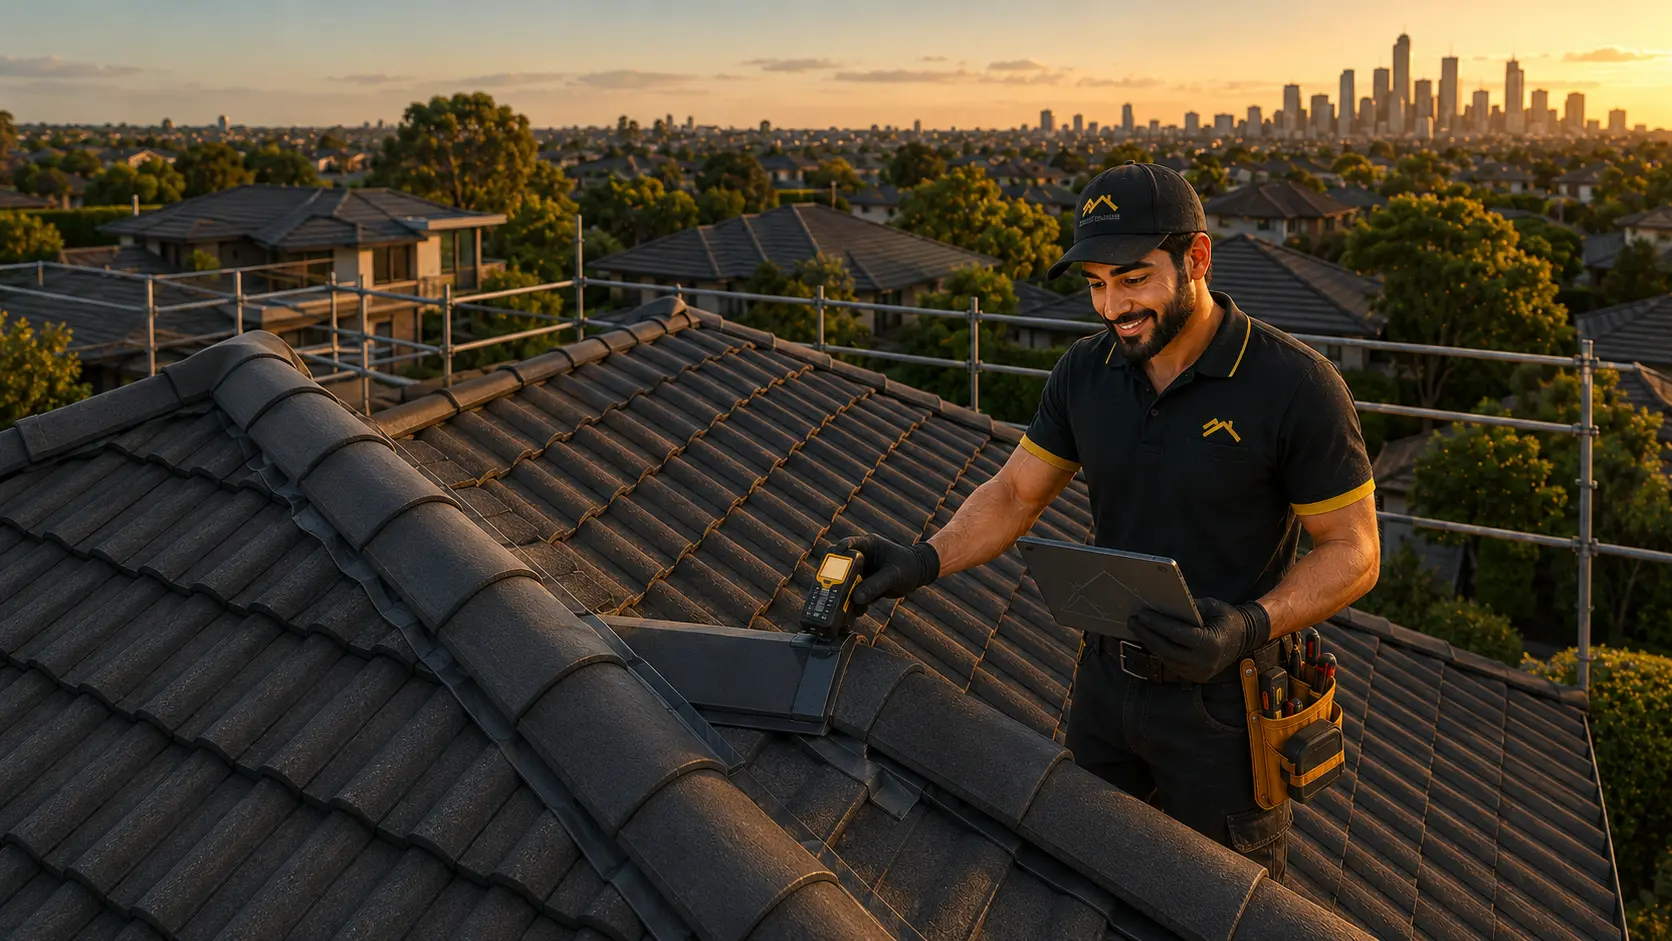
The first step is not choosing a colour. It is assessing whether the roof remains serviceable enough to justify restoration. From safe accessible areas, the contractor should consider the roofing material, tile condition, ridge and hip capping, valleys, flashings, penetrations, gutters and any visible signs of movement or water entry.
Homeowners should explain what they have noticed inside and outside the property, including ceiling stains, damp smells, slipped tiles, overflowing gutters or previous patch repairs. These clues can help direct the inspection, although the visible symptom is not always directly beneath the cause of a leak.
The inspection should be capable of producing more than one recommendation. Some roofs need only targeted roof repairs. A serviceable tiled roof may be suitable for restoration, while widespread failure or structural concerns can point toward roof replacement. Our guide to restoration versus replacement explains that decision in more detail.
If you are unsure where to begin, a free roof inspection provides a practical starting point. The purpose is to understand the roof’s condition before committing to a finish or a standardised package.
Stage 2: Build a clear written scope
After the inspection, the quotation should translate the visible condition into a clear scope of work. It should identify the roof type, the repairs allowed for, the preparation stages, the proposed coating system and any areas that are excluded or cannot be confirmed until cleaning begins.
A useful scope separates repairs from cleaning and coatings. For example, ‘ridge work where required’ is less informative than an explanation of which ridge sections appear to need rebedding or repointing. Likewise, ‘three-coat system’ means little unless the quote also identifies what those coats are intended to do and whether they are compatible with the existing surface.
This written detail makes quotations easier to compare. A cheaper proposal may be appropriate for a roof that needs less work, but it may also omit repairs or preparation included by another contractor. Compare the complete outcome, not only the final figure. Our Melbourne roof restoration cost guide outlines the main factors that influence pricing.
- ✓Roof material and visible condition
- ✓Repair items and allowances
- ✓Cleaning and preparation method
- ✓Primer, sealer and coating system
- ✓Property-protection measures
- ✓Assumptions, exclusions and variation process
- ✓Expected sequence and weather allowances
Stage 3: Plan safe access and protect the property
Before physical work begins, access and property protection need to be planned. Roofing work involves height, wet surfaces, hoses, equipment and changing weather, so safe work methods and appropriate edge protection are fundamental parts of the job—not optional extras added after work starts.
The contractor should also consider neighbouring properties, parked vehicles, solar panels, windows, walls, gardens, outdoor furniture and rainwater collection. Pressure-cleaning run-off and coating overspray need to be controlled. Downpipes may need temporary management, particularly where tanks collect roof water.
Homeowners can help by keeping driveways and access paths clear, moving fragile outdoor items and discussing pets, locked gates, power access and water access before the scheduled start. Clear preparation reduces delays and keeps the work area easier to manage.
Stage 4: Pressure clean the roof thoroughly
Pressure cleaning removes accumulated dirt, moss, lichen, chalking material and loose previous coatings. This is not only a visual clean. The objective is to expose and prepare a sound surface that can be assessed properly and, where suitable, receive the specified products.
Cleaning often reveals defects that were difficult to see during the initial inspection. Fine cracks, porous tiles, loose pointing and unstable previous coatings can become more obvious once grime and organic growth have been removed. The roof should therefore be reinspected after cleaning rather than moving automatically to colour application.
Water run-off must be managed carefully. Gutters and surrounding areas can collect debris, and overspray can reach walls, windows or neighbouring surfaces if the work is not controlled. A professional process includes cleaning up the material removed from the roof and checking the property around the work zone.
The amount of pressure and cleaning technique should suit the roofing material. Aggressive cleaning is not automatically better; the goal is adequate preparation without unnecessary damage to tiles, pointing or adjacent components.
Stage 5: Complete tile, ridge and roof repairs
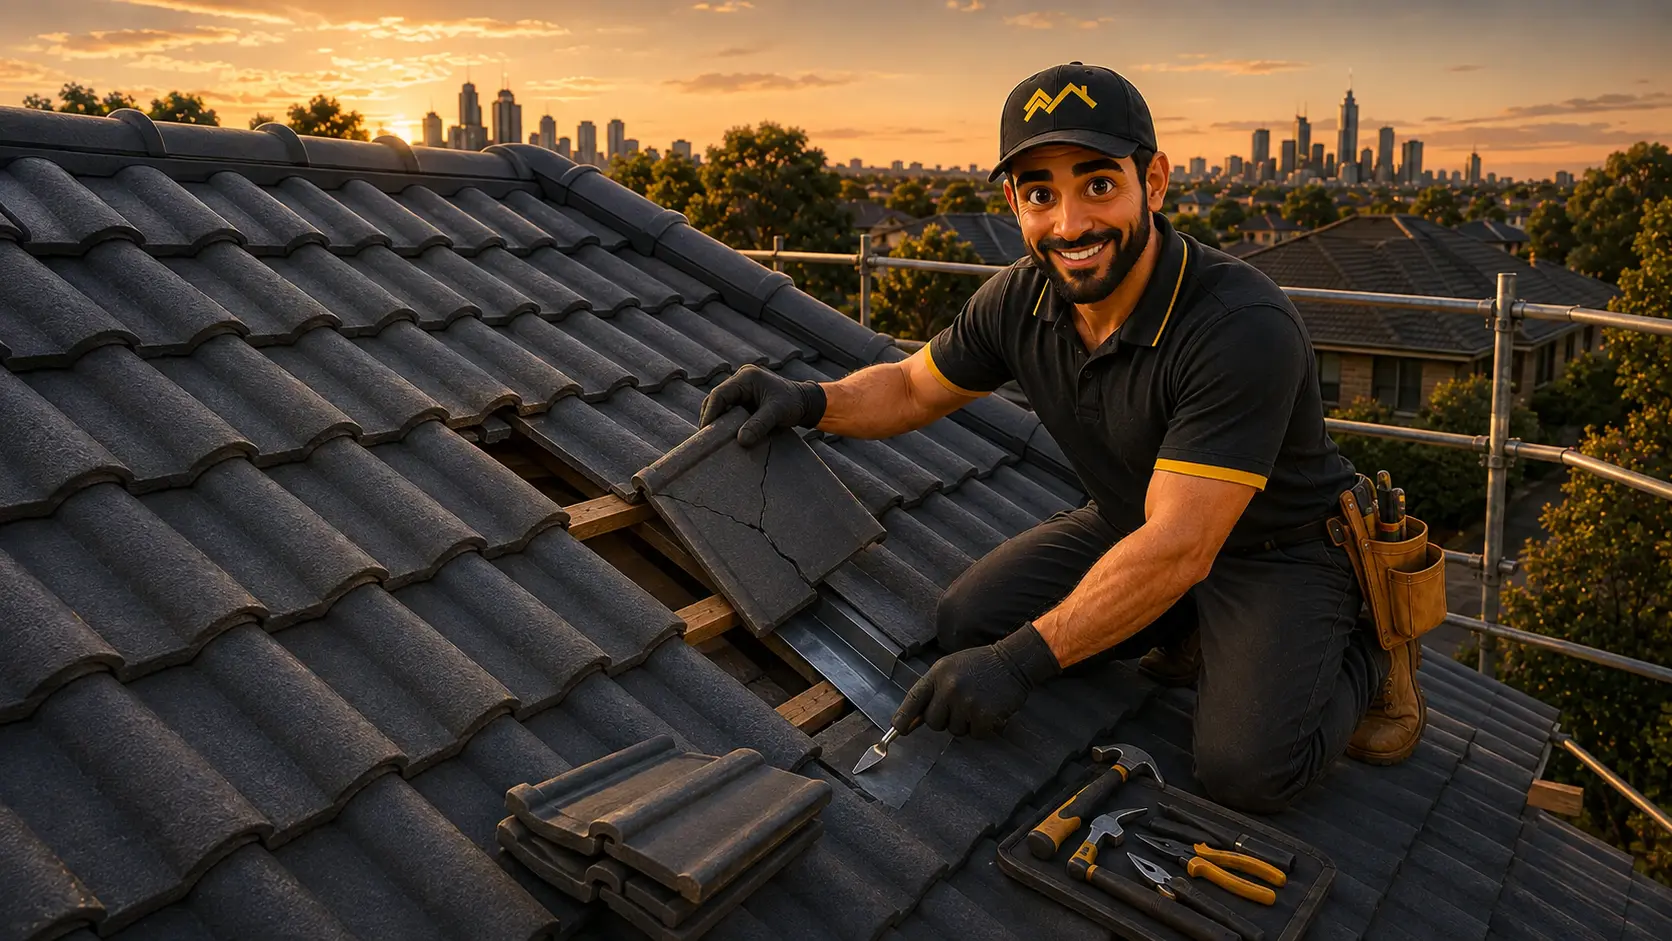
Once the roof is clean and visible, the agreed repairs can be completed. On a tiled roof, this may include replacing cracked or broken tiles, reseating displaced tiles and addressing deteriorated ridge or hip capping. Valleys, flashings and roof penetrations should also be considered where they form part of the inspection and written scope.
Ridge capping commonly requires attention on ageing Melbourne tiled roofs. Depending on its condition, loose sections may need rebedding, while suitable existing bedding may allow deteriorated pointing to be removed and replaced with a compatible flexible pointing product. The correct treatment depends on what is actually found.
Painting over cracked mortar, loose caps or broken tiles does not repair them. The repair stage is what separates a broader restoration from a surface-only coating job. If additional defects appear after cleaning, the contractor should explain them and obtain approval before carrying out work outside the original scope.
Concrete and terracotta tiles behave differently, and not every terracotta surface is a suitable candidate for coating. Our tile roof restoration service explains why tile type, porosity, previous coatings and roof condition need to guide the method.
- ✓Replace agreed cracked or broken tiles
- ✓Reseat displaced tiles where appropriate
- ✓Repair ridge and hip capping to the documented scope
- ✓Review accessible valleys, flashings and penetrations
- ✓Resolve approved defects before the final coating stages
Stage 6: Allow the roof to dry and reassess the surface
A cleaned roof needs suitable drying conditions before primers, sealers or coatings are applied. Moisture trapped beneath a product system can affect adhesion and finish quality, so the schedule should respond to the surface and the product requirements rather than an inflexible calendar.
This is also the point to reassess any previous coating. Peeling, flaking or unstable material may require additional preparation. The contractor should confirm that repaired areas are ready, loose debris has been removed and the roof surface is suitable for the next specified stage.
Melbourne weather can change quickly. If rain, heavy dew, strong wind or unsuitable temperatures interrupt the sequence, delaying application is usually more responsible than forcing the job forward. A professional schedule allows for weather without skipping preparation. Homeowners planning work ahead of the hotter months can use the Melbourne summer roof restoration guide to understand timing, heat and colour considerations.
Stage 7: Apply the specified primer or sealer
Primer and sealer requirements depend on the roof material, porosity, previous coatings and the selected product system. They are not interchangeable labels, and not every roof should automatically receive the same first coat. The quotation should identify what is proposed and why it is appropriate for the surface.
On suitable concrete tiles, a sealer or primer can help prepare the cleaned surface for the finishing coats. On metal roofing, corrosion treatment, adhesion requirements and compatible primers create a different process. Terracotta requires its own careful assessment because some surfaces may be unsuitable for conventional coating systems.
Homeowners do not need to become coating experts, but they should be able to ask which system is being used and receive a clear answer. Product compatibility and preparation matter more than a vague promise of a particular number of coats.
Stage 8: Apply the professional roof coating
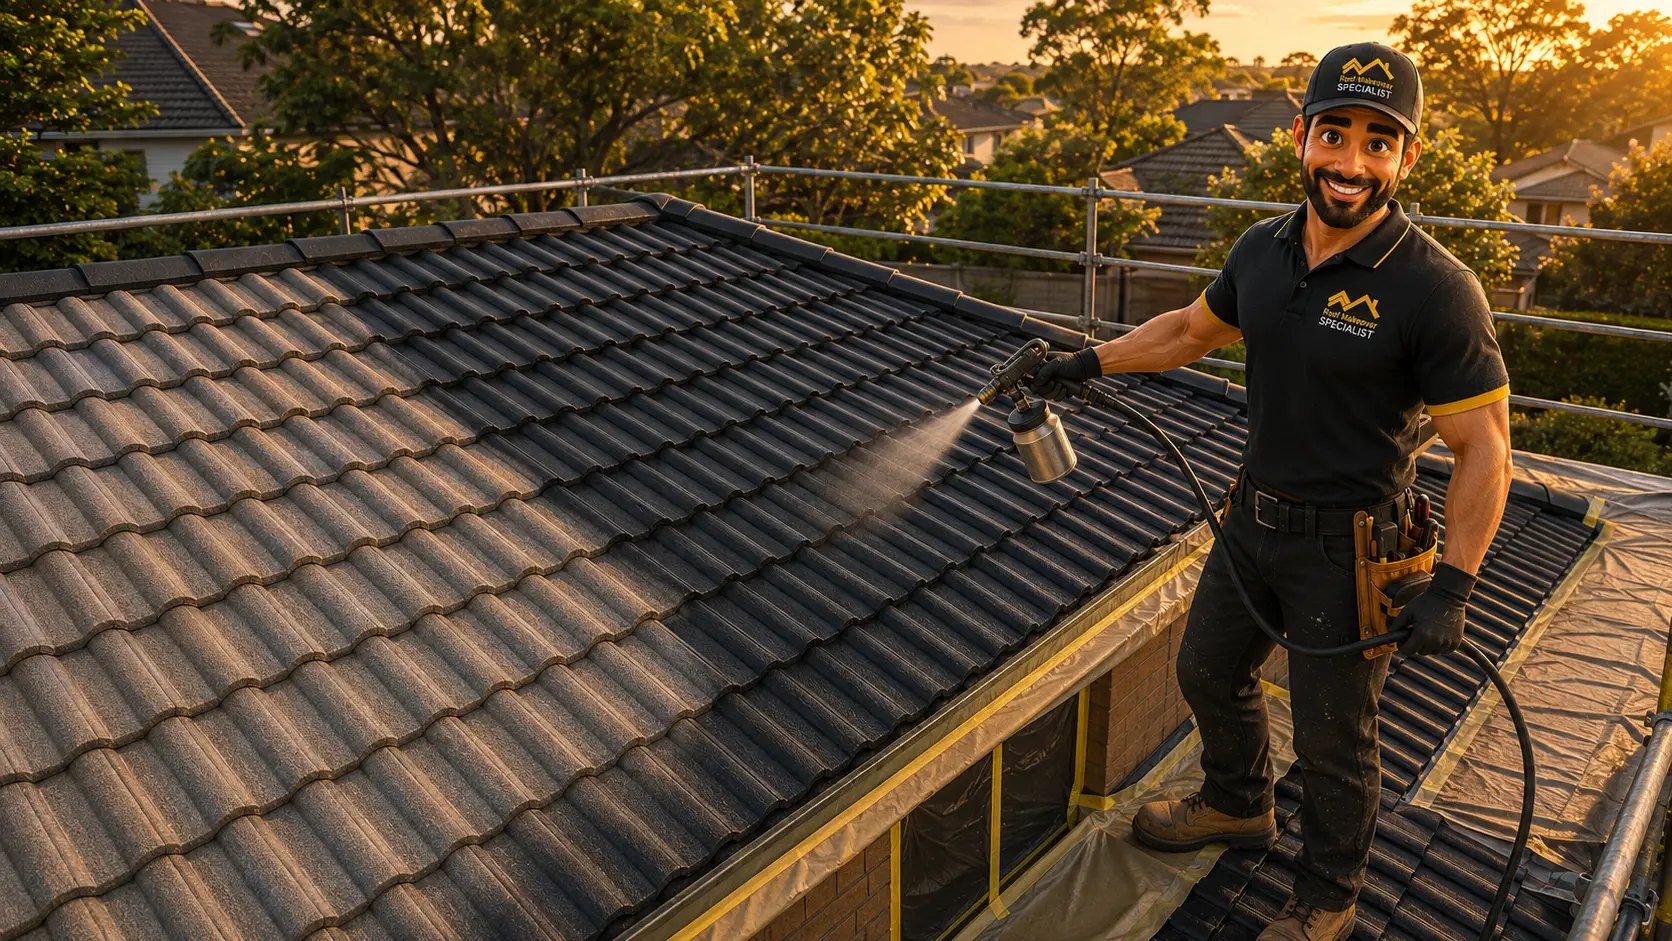
Once the roof is repaired, prepared and appropriately primed or sealed, the finishing coats can be applied according to the specified system. Coverage should follow the tile profile without obvious missed edges, thin patches, excessive build-up or blocked drainage channels.
Application conditions matter. Wind can carry overspray, while surface temperature, moisture and approaching rain can affect the finish. Surrounding walls, windows, solar panels, vehicles and neighbouring property should remain protected throughout this stage.
Colour can transform the appearance of a home, but it should not distract from the workmanship beneath it. The completed roof should still show clearly defined tile profiles and orderly ridge lines. Our guide to what a quality roof restoration looks like uses real customer-submitted photographs to explain the visible details worth checking.
Roof painting is one component of many restorations, but it is not automatically the same service. The roof painting process focuses on surface preparation and coatings, while restoration generally includes a broader inspection and agreed repair scope before finishing.
Stage 9: Complete the final inspection and clean-up
The job is not complete when the last coat is applied. After suitable curing time, the finished roof should be checked against the written scope. Coverage, ridge and hip work, repaired areas, penetrations and visible roof junctions should be reviewed from safe accessible positions.
The surrounding property should also be inspected. Protective coverings and equipment need to be removed, gutters and work areas should be left presentable, and any agreed clean-up should be completed. Before-and-after photographs are useful for roof areas that the homeowner cannot safely see from the ground.
A clear handover should confirm the work completed, the product and colour used, any limitations or excluded areas, and the maintenance or warranty information supplied for the project. You can view additional completed work in our Melbourne roof restoration project gallery.
- ✓Compare the finished work with the quotation
- ✓Check coating consistency from several safe viewpoints
- ✓Confirm the agreed repair areas were addressed
- ✓Review property clean-up and drainage areas
- ✓Retain product, colour and warranty documentation
- ✓Ask about future roof and gutter maintenance
How long does the roof restoration process take?
Many residential roof restorations are completed over several working days, but there is no responsible duration that fits every property. Roof size, pitch, access, material, the amount of ridge and tile work, drying time and the selected product system all affect the schedule.
Weather is one of the largest variables in Melbourne. Rain can delay cleaning, repairs and coatings, while strong wind may make pressure cleaning or spraying unsuitable. Drying periods between stages also need to be respected. A slightly longer project with the right conditions is preferable to compressing stages simply to meet an arbitrary promise.
Ask for the expected sequence rather than only a completion date. Knowing which days are intended for cleaning, repairs and coating makes it easier to understand genuine weather delays and recognise when important stages have been rushed or omitted.
How the process changes for concrete, terracotta and metal roofs
Concrete tiled roofs are common candidates for restoration when the tiles and roof system remain serviceable. The process can include cleaning, replacement of damaged tiles, ridge repairs, sealing or priming and compatible finishing coats. Porosity and any previous coating need to be considered.
Terracotta tiles require a separate assessment. Glazed, unglazed, previously coated and heavily weathered terracotta surfaces can behave differently, and coating may not be appropriate for every roof. Cleaning and repair can still be valuable, but the finishing recommendation should follow the material rather than a one-size-fits-all package.
Metal roof restoration involves different defects and products. Loose or deteriorated fasteners, corrosion, laps, flashings and sealants may need attention before cleaning, treatment, priming and coating. A tiled-roof system should never simply be copied onto metal roofing; see our metal roof restoration service for the commercial scope and our rusted tin roof restoration guide for two genuine before-and-after projects.
The best process is therefore not the longest list of steps. It is the sequence that matches the roof’s material, present condition and practical serviceability.
What homeowners can do before restoration begins
Good communication before the start date can make the project smoother. Confirm which areas the team needs to access, where vehicles and equipment can be positioned, and whether gates, pets, solar systems, rainwater tanks or neighbouring driveways require special attention.
Remove or protect fragile outdoor items close to the house and keep windows closed during pressure cleaning and coating. Move vehicles away from the work zone when requested. If roof water feeds a tank, discuss how the tank and downpipes will be managed during cleaning and after coating.
Inside the home, note any existing ceiling stains and store photographs of problem areas. This gives you a useful record to compare over time and helps the contractor understand concerns that may not be visible during a dry-weather inspection.
- ✓Clear driveways and agreed access paths
- ✓Move vehicles and fragile outdoor items
- ✓Keep pets safely away from work areas
- ✓Discuss solar panels and rainwater tanks
- ✓Close windows during cleaning and coating
- ✓Record existing leaks or ceiling marks
Roof restoration shortcuts and warning signs
The most common warning sign is a proposal that focuses almost entirely on colour and price. If the contractor cannot explain the roof condition, repair scope, cleaning method and product system, it is difficult to know what outcome is actually being quoted.
Be cautious when a fixed package is recommended without an adequate inspection, when coatings are proposed over visibly loose or peeling material, or when repair items are left so vague that they cannot be checked at handover. Pressure cleaning followed immediately by colour application is not a complete restoration process.
Reviews and completed-job photographs can help assess communication and finish quality, but they should support—not replace—the written scope. Ask for insurance details, clarify how additional defects will be handled and make sure the company is willing to recommend repair or replacement when restoration is not appropriate.
- ✓No roof-specific inspection or written defect explanation
- ✓A quote centred only on the number of colour coats
- ✓Repairs described vaguely or omitted
- ✓No allowance for cleaning, drying or weather
- ✓The same system proposed for every roof material
- ✓Pressure to decide before the scope is clear
How to compare roof restoration quotes fairly
Place competing quotations side by side and compare them stage by stage. Check whether each includes safe access, pressure cleaning, broken-tile replacement, ridge repairs, surface preparation, the nominated product system, surrounding-property protection, final inspection and clean-up.
If one quote is substantially lower, identify which stage or allowance is different before assuming it represents equal value. A smaller repair scope may be completely reasonable if the contractor found fewer defects, but the difference should be explained in plain English.
Also compare exclusions and the process for variations. Some roof defects cannot be confirmed until cleaning or limited removal reveals them. A trustworthy quotation explains how those discoveries will be documented and approved instead of hiding them in vague wording.
Is restoration the right process for your roof?
Restoration can be a practical way to renew a serviceable roof, improve its presentation and address an agreed set of repairs. It is not a remedy for every old roof, and age alone does not decide suitability. The remaining condition of the tiles or metal, ridge system, flashings, drainage paths and supporting structure matters more.
If the roof has localised, repairable defects and a surface that can be prepared for a compatible system, restoration may offer a sensible outcome. Widespread material failure, repeated leaks from multiple causes or structural movement may make replacement more dependable. Our guides to the signs a roof may need a full restoration and older tiled roof restoration cover those considerations in depth.
Roof Makeover Specialist provides roof restoration services across Melbourne and selected Victorian areas. Explore the areas we cover in the roof restoration service-area directory, or arrange an inspection to receive advice based on the roof in front of us.
Start with a professional Melbourne roof assessment
The right roof restoration process should be easy to explain: inspect first, document the scope, protect the property, clean thoroughly, complete the agreed repairs, prepare the surface, apply compatible products and check the finished work. When every stage has a purpose, homeowners can make a decision based on workmanship and suitability rather than colour alone.
If your tiled or metal roof is faded, cracked, leaking or showing signs of age, visit our main Melbourne roof restoration service to see what a roof-specific scope can include. Call 1300 ASK 4 US or use the form below to arrange your free roof inspection.
Common questions
Roof Restoration FAQs
What are the main stages of a roof restoration?+
A professional process generally includes inspection, a written scope, site protection, pressure cleaning, agreed repairs, drying and surface preparation, compatible primer or sealer where specified, finishing coats, final inspection and clean-up. The exact sequence should be matched to the roof material and condition.
Are roof repairs completed before or after pressure cleaning?+
The roof is first inspected and urgent defects are considered before cleaning. Many final repair items are completed or confirmed after pressure cleaning exposes the surface more clearly. The contractor should explain the planned sequence and document additional defects before work outside the scope begins.
How many days does a roof restoration take in Melbourne?+
Many residential projects take several working days, but roof size, pitch, access, repairs, drying time, product requirements and Melbourne weather can change the schedule. The sequence and suitable application conditions matter more than a universal completion promise.
Does every roof restoration include roof painting?+
Many tiled and metal roof restorations include a compatible coating system, but not every roof material or surface is suitable for coating. The recommendation should follow the roof type, existing condition and product requirements.
Can a roof be restored without replacing broken tiles?+
Broken or unsuitable tiles within the agreed work area should be assessed and replaced where required before the final coating stages. Painting over a broken tile does not repair the defect.
What should I check when the restoration is finished?+
Compare the completed work with the written scope, review coating consistency and repaired areas from safe viewpoints, confirm the property has been cleaned, and retain the supplied product, colour, maintenance and warranty information.